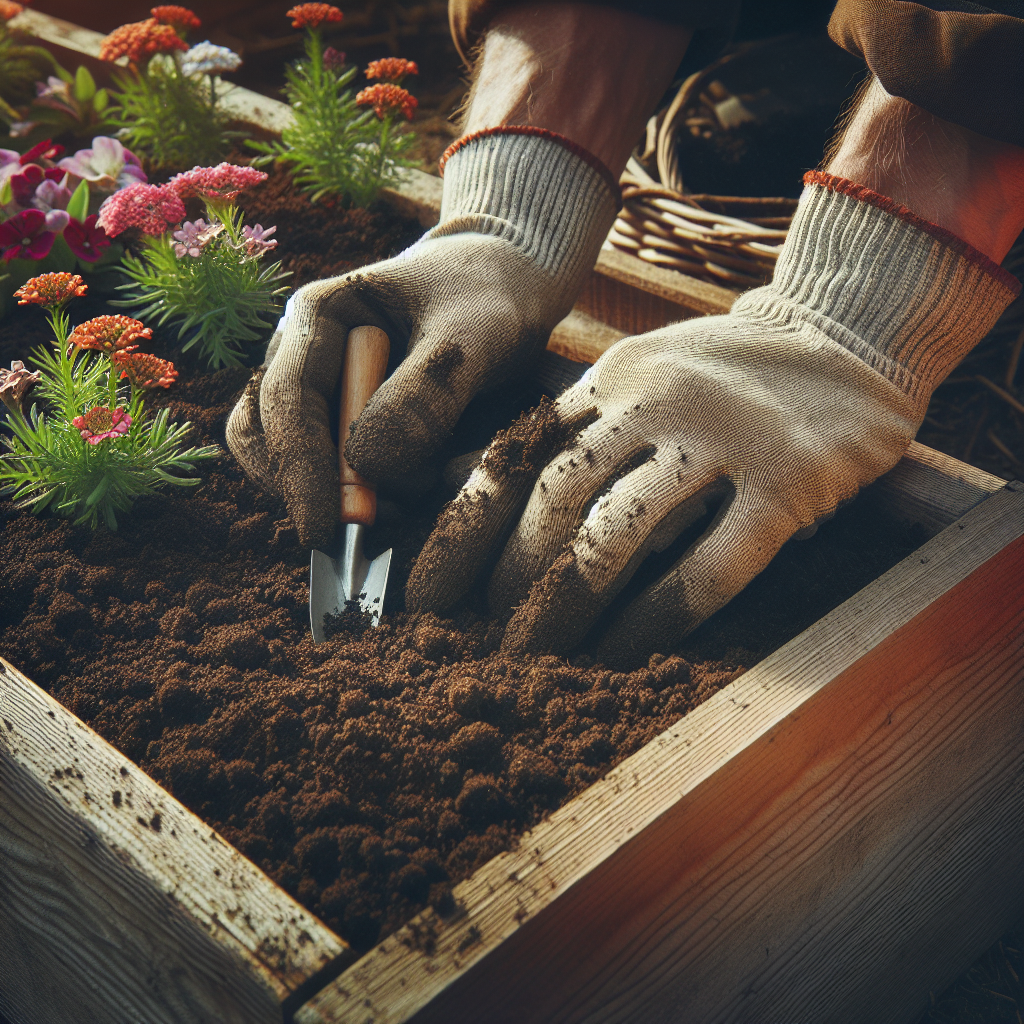
Are you ready to embark on a gardening adventure? If so, you’re in the right place! In this step-by-step guide, we will walk you through the process of building your very own raised bed garden. Whether you’re a seasoned gardener looking to try something new or a complete beginner with a green thumb, this article will provide you with all the information you need to successfully create and maintain a beautiful raised bed garden. So grab your gardening gloves and let’s get started!

Choosing the Location
Assessing sunlight and shade
Before you start building your raised bed garden, it’s important to choose the right location. Assess the amount of sunlight and shade the area receives throughout the day. Most vegetables thrive in full sunlight, so aim for a spot that gets at least 6 to 8 hours of direct sunlight daily. Consider any trees or buildings that may cast shadows during certain times of the day.
Considering accessibility
Another factor to consider when choosing the location for your raised bed garden is accessibility. You’ll want a spot that is easily accessible for watering, tending to plants, and harvesting. Additionally, think about the proximity to water sources. It will be more convenient if you can easily connect a hose or have nearby access to water.
Checking for soil quality
Lastly, take a look at the soil quality in the area you’ve chosen. Conduct a soil test to determine its pH level and nutrient content. If the soil is not ideal for growing vegetables, don’t worry! That’s where the raised bed comes in. It allows you to create a customized environment for your plants by filling it with high-quality soil and amendments.
Determining the Size and Shape
Considering available space
Once you’ve found the perfect location, it’s time to determine the size and shape of your raised bed garden. Consider the available space you have to work with. Measure the dimensions of the area and take into account any existing structures or obstructions that might limit the size and shape of your raised bed.
Deciding on the dimensions
When deciding on the dimensions of your raised bed, keep in mind that you’ll want to be able to reach the center from all sides without having to step into the bed. A width of 3 to 4 feet is generally recommended, as it allows for easy access and maintenance. The length can vary depending on the available space and your needs. Remember, a smaller bed is easier to manage and maintain.
Gathering Materials and Tools
Wood or other materials
Now that you have determined the size and shape of your raised bed, gather the necessary materials and tools. Wood is commonly used for building raised beds, but other materials such as concrete blocks or recycled materials can be used too. Choose untreated wood, such as cedar or redwood, to avoid any potential chemical contamination.
Hardware and fasteners
To assemble the raised bed, you will need hardware and fasteners. Depending on the type of material you choose, you may need galvanized screws, nails, or brackets to secure the pieces together. Make sure to choose hardware and fasteners that are suitable for outdoor use and won’t rust or deteriorate over time.
Tools required
In terms of tools, you’ll need a measuring tape, a circular saw or hand saw, a drill with appropriate bits, a level, and a square. These tools will help you accurately measure, cut, and assemble the pieces of your raised bed.
Clearing the Area
Removing grass and weeds
Before you start building the raised bed, clear the area of any grass or weeds that may be present. Use a garden rake or a shovel to remove the vegetation. This will ensure a clean and even surface for the raised bed.
Leveling the ground
After removing the grass and weeds, it’s important to level the ground. Use a shovel or a garden rake to smooth out any uneven areas. A level can be helpful to ensure that the ground is perfectly even, especially if you plan to build multiple raised beds in a row.

Building the Frame
Measuring and marking
Now it’s time to build the frame of your raised bed. Begin by measuring and marking the dimensions on the ground where the bed will be placed. Use a measuring tape, stakes, and string to create straight and accurate lines.
Cutting and assembling the pieces
With the dimensions marked, cut the pieces of wood or other materials according to the measurements. Use a circular saw or hand saw to make clean and precise cuts. Once all the pieces are cut, assemble the frame by attaching the sides of the bed to the corner supports.
Creating corner supports
To ensure the stability and durability of your raised bed, it’s important to create corner supports. These supports can be made by cutting additional pieces of wood at a 45-degree angle and attaching them to the corners of the frame. This will reinforce the structure and prevent the corners from coming apart over time.
Installing the Frame
Positioning the frame in place
Once the frame is built, carefully position it in the designated area. Make sure it is aligned with the marked lines and adjust if necessary. Take a step back and visualize how the raised bed will fit into the overall layout of your garden.
Leveling and securing the frame
After positioning the frame, use a level to ensure that it is perfectly horizontal. Adjust the frame as needed by adding or removing soil beneath the corners. Once the frame is level, secure it in place by driving screws or nails through the sides and into the ground. This will keep the frame stable and prevent any shifting.
Preparing the Soil
Removing rocks and debris
Before filling the raised bed with soil, remove any rocks, roots, or debris that may be present in the area. Use a garden rake or a small shovel to clear the bed of any unwanted materials. This will create a clean and optimal environment for your plants to grow.
Amending the soil with compost or fertilizer
To provide the best growing conditions for your plants, amend the soil with compost or fertilizer. This will improve the soil’s nutrient content and drainage. Spread a layer of compost or fertilizer evenly over the bed and use a rake to incorporate it into the top few inches of soil.
Adding a Bottom Layer (Optional)
Choosing appropriate materials
Adding a bottom layer to your raised bed is optional, but it can be beneficial in certain situations. If you are building the raised bed on a surface that is prone to weeds, such as grass or an old garden bed, adding a bottom layer can help prevent weeds from coming up through the soil. Choose materials like landscape fabric or cardboard that will allow for proper drainage.
Installing the bottom layer
To install the bottom layer, simply lay the chosen material in the base of the raised bed, covering the entire area. Trim any excess material that extends beyond the edges of the bed. This layer will act as a barrier, preventing weeds from growing up into your raised bed.
Filling the Raised Bed
Layering soil and compost
Now it’s time to fill your raised bed with soil. Start by adding a layer of rich, organic soil. Smooth it out with a rake and ensure a consistent depth throughout. Next, layer in compost, which will provide additional nutrients for your plants. Repeat these layers until the raised bed is filled to the desired level.
Mixing in amendments
To further enhance the soil quality, consider mixing in additional amendments such as peat moss, vermiculite, or perlite. These amendments can improve soil structure, promote healthy root development, and enhance moisture retention. Use a garden fork or a rake to mix them into the soil evenly.
Leveling the soil
After filling the raised bed with soil and amendments, it’s important to level the surface. Use a rake or a garden fork to smooth out any uneven areas and create a flat and even planting surface. This will provide a stable foundation for your plants and ensure proper water distribution.
Harvesting and Enjoying the Produce
Knowing when to harvest
As your plants grow and thrive in the raised bed, it’s important to know when to harvest your produce. Each vegetable has its own specific signs of ripeness, so familiarize yourself with the requirements of the crops you’ve planted. Keep an eye out for color changes, size, and texture to determine when it’s time to harvest.
Proper harvesting techniques
To ensure a successful harvest, use proper techniques when harvesting your produce. Use sharp garden shears or a knife to cut fruits and vegetables from the plants. Be gentle and careful to avoid damaging the surrounding foliage. Remember to harvest regularly to encourage continued growth and yield throughout the growing season.
Delighting in the garden’s bounty
Finally, take the time to delight in the bounty of your raised bed garden. Whether you’re enjoying a freshly picked salad or sharing your harvest with friends and family, the joy of growing your own food is unmatched. Your raised bed garden will provide you with a sense of accomplishment and a connection to the natural world, creating a truly enjoyable and rewarding experience.

